Showing posts with label nails. Show all posts

Tuesday, March 19, 2013

Swatch Tuesday! Stardust Polish * Alice in Wonderland Collection


Well hello Lovelies!  Happy Tuesday!  Did everyone enjoy St. Patrick’s Day?  Hope you weren’t hurting too bad on Monday.  This week I have swatches of Stardust Polish’s complete Alice in Wonderland Collection for you!  The lovely Drema was so nice to send me the line to swatch and review :] 

The line includes five pearl based polishes, one holo, and one thermal. So.Great!!  All swatches of the pearl based polish are shown with one to two coats of Out The Door topcoat.  This is needed to tame the glitter.

First up is Painting the Roses Red.  This is a slivery white pearl based polish with small ruby red holo glitters and medium matte black hex glitters. I did two coats Painting the Roses Red over one coat of Sinful Colors Snow Me White.  Easy application, there was a good amount of glitter on the brush each time. 
Two coats Stardust Polish Painting the Roses Red
over one coat Sinful Colors Snow Me White
This is the first ever pearl polish I have used, so it took me a little bit to get the hang of it.  I figured the thicker you apply it, the better it looks and the more it builds.  Normal dry time. 

Next is Who Are You?, a blue pearl based polish with large blue hex glitters and medium yellow hex glitters.  This blue OMG!!  It reminds me of the metallic look of Essie Aruba Blue but with the added bonus of glitter!  This is three coats of Who Are You? with no undies.  Very buildable polish.  It would have been okay with two coats, but I had a few bald spots [I was still getting the hang of the application].  Normal dry time also.
Three coats Stardust Polish Who Are You?
Next is Un-Birthday Party.  It’s a green pearl based polish with all sorts of glitter! You’ve got medium and small purple, blue, orange, red, gold and green hex and square glitters.  I really loved the idea of this polish, but I think the glitter got lost once it was on.  When I first swatched it, I put it over a green base [some O.P.I. – I forget] and only did one coat.  The glitter stood out much more then.  This is three coats, no undies.  I still like it a lot! [This was my second favorite of the pearl based polish] 
Three coats Stardust Polish Un-Birthday Party
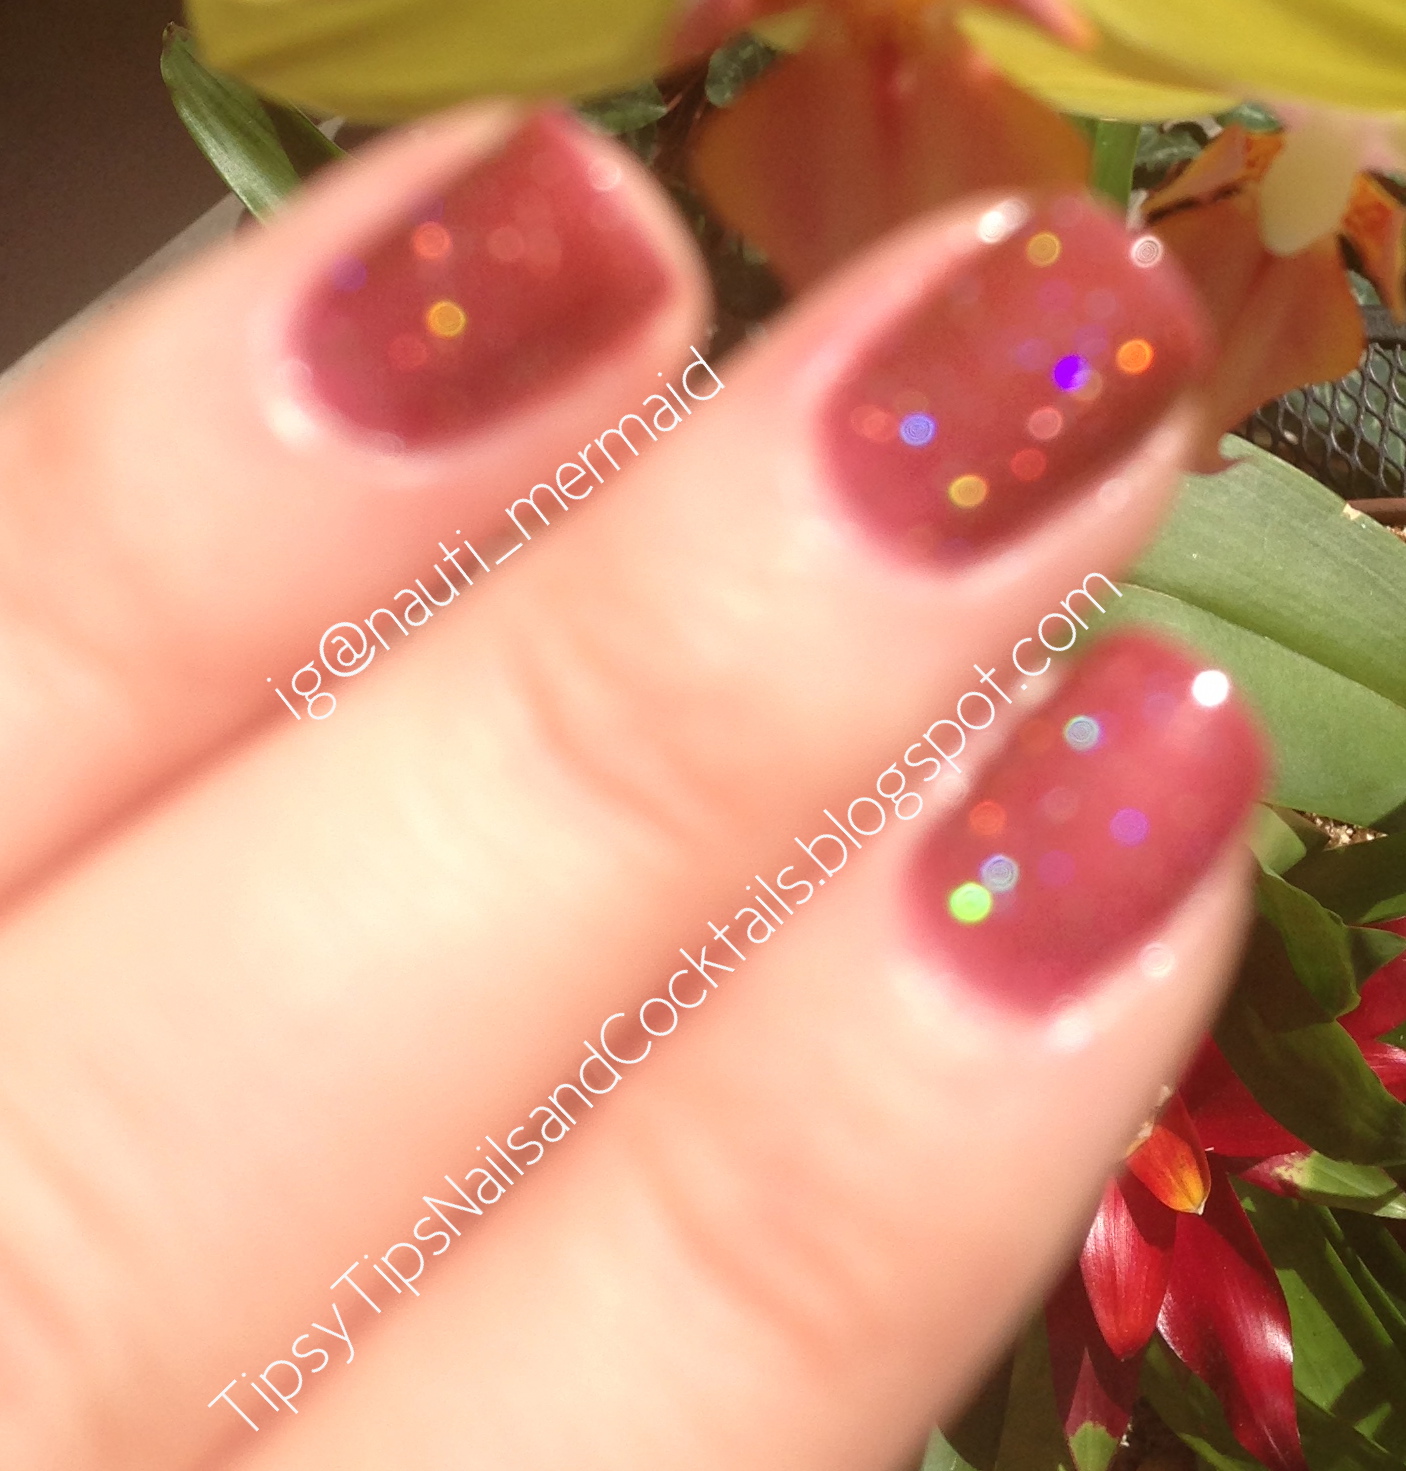
Everyone’s Mad Here is a pink pearl based polish with small magenta holo hex glitters and medium matte purple square glitters.  This is three coats, no undies.  I feel like the glitter is lost in this one also.  I will definitely need to try it over a pink base, because he glitter combo is very pretty.  I’ll be sure to post when I do!
Three  coats Stardust Polish Everyone's Mad Here
The last pearl based [and definitely my favorite of them] is Down the Rabbit Hole. It’s a purple pearl based polish that kind of has a blue/purple color shift.  There’s small charcoal and silver holo hex glitters throughout. Yummies!  Again, three coats, no undies. 
Three coats Stardust Polish Down the Rabbit Hole
I think these pearl polishes are unique because it looks like the glitter is popping out at you.  In reality, if you don’t put a generous amount of topcoat on, it is popping out and it will be bumpy.  But once you smooth with a topcoat, it has a really cool effect.

Now the holooooo polsihhhh of the collection!  I really need to stop saying I don’t like certain kinds of polish, because I always have to eat my words [besides crackle – I will forever dislike that stuff!].  I said before I didn’t really like gold polish because it looks tacky.  Welllllllll I changed my mind! Golden Afternoon is a gold polish with fine holo dust.  It’s not a bam-crazy-look at-this-linear holo like any of the Color Club Halo Hues.  There’s just the most subtle hint of shimmer in the right light.  I liked it so much I wore it for a few days.  I did two coats Golden Afternoon, no undies.  Dry time was quick.  It wore well - no chippage :]
Two coats Stardust Polish Golden Afternoon
[light box lighting]
Two coats Stardust Polish Golden Afternoon
[normal indoor lighting]
Two coats Stardust Polish Golden Afternoon
[direct sun]
Two coats Stardust Polish Golden Afternoon
[direct sun - blurred]
Two coats Stardust Polish Golden Afternoon
[direct sun - blurred]
Ready for this???  A thermal polish!  I’ve been mesmerized by thermals for so long now and I’ve been meaning to order some.  I’m glad Eat Me! was my first one.  It goes from a dusty mauve-ish when cold  to a light violet red when warm.  Oh.  And the nice mini silver holo hex glitters aren’t horrible to look at either ;]   I have swatched with and without undies. 
Two coats Stardust Polish Eat Me!
[no undies, normal temperature]
Two coats Stardust Polish Eat Me!
[no undies, dipped in ice water]
Two coats Stardust Polish Eat Me!
[no undies, ran under hot water]
Two coats Stardust Polish Eat Me!
[no undies, pointer & middle cold; ring & pinky warm]
I wanted to be entertained by the color changes and see the effect while going about my normal days, so I used this polish over Zoya Jolene.  This polish wears well also.  No chipping or tip wear after three days [that’s an ooolllld mani around these parts! lol].
Two coats Stardust Polish Eat Me!over Zoya Jolene
 [cold]
Two coats Stardust Polish Eat Me!over Zoya Jolene
 [normal temperature] 
Two coats Stardust Polish Eat Me!over Zoya Jolene
 [normal temperature]
Two coats Stardust Polish Eat Me!over Zoya Jolene
 [normal temperature - blurred]
Two coats Stardust Polish Eat Me!over Zoya Jolene
 [normal/cold contrast - I was cutting up cold tomatoes lol]
Well, I hope you enjoyed the swatch fest!!  Now, go check out Stardust Polish on storenvy!  Prices range from $6.25 to $8.25 for the Alice in Wonderland polish.  I popped over to the shop to post the link and saw a sweeeeet red linear holo [Miss Temptation] along with some other nice lookin polish. :] Follow on IG @stardustpolish

*-*-*-*-*
Follow me on Pinterest [@miss_best] & IG [@nauti_mermaid]

Friday, March 15, 2013

Green Cocktail & Lucky Nail Art

Hello lovelies!  Today I have a festive drink for St. Patrick's Day and some matching nail art!

To make the St. Patty's Day Cocktail,
You'll Need:
Cointreau
Blue Curacao
OJ

Make It!
Ingredients (couple glugs of each alcohol; equal amount of OJ).  Shaker with ice.  Shake.  Strain into a cocktail glass.
Photo found on Pinterest here
BONUS JELL-O SHOT RECIPE!  Lucky you!  Irish Car Bomb Jell-O Shot recipe?  Ohh yeahhh!  Click here
You have my boss to thank for sharing that gem with me on Facebook! loll

Annnnnd heres some nail art!
China Glaze In The Limelight
I started out with China Glaze In The Limelight as the base.  Then I wrote "LUCK" with a nail art pen I got for Christmas a few years ago.
China Glaze In The Limelight
I wanted to add a little more, so I dotted on a shamrock with Essie Good As Gold.  I just made three dots in a semi-heart-triangle-ish pattern.  Needs some practice compared to some other shamrock nail art I've seen over the past week.  Oh well.  I liked them!
LOOK!!! My elusive right hand!!  Haha.  I liked my LUCK nails so much, I decided to do my other hand also.  I made a large shamrock on my pointer.  It was horrible, so I covered it with Darling Diva Leprechaun's Gold that was sent to me by a lovely IG polish friend [Kayla - holla!! ;) ].  I did two baby shamrocks that turned out semi-okay, so I left them as is.  

Welp, that's all darlings!  I was going to do a mocktail recipe, but honestly, I forgot what day it was and I'm writing this up at 11:45 Thursday night and I want to go to sleep!! 

Stick around for Swatch Tuesday.  I'll be swatching & reviewing all seven of Stardust Polish's Alice in Wonderland collex.  Heck yes!!

Tuesday, March 5, 2013

Swatch Tuesday! Julep Maven March Bombshell Box & Lavish Polish


Well hello, hello, hell-ooh-ooh-o!!  I’m back!  Did you guys miss me??  I sure missed you!  [Unless you’re on IG & I was there the whole time ;P]  So. Today I have some of the best polish I’ve ever received in the Julep Maven boxes.  ANNNND some really funky unique indie polish by Lavish Polish.

I’ve been kinda ehhh about my Julep subscription for a while.  They really turned me off after that stupid crackle polish in October [I’ve probably talked about it a lot…but I forget these things].  After this month, they completely redeemed themselves!  I think I will permanently switch my Maven Style to Bombshell.  I used to get the American Beauty boxes, but now that is retired.  The new box [Modern Beauty] includes NO polish, only beauty products.  Meh.  Give me the polish!!  As I was looking through the other styles, the pastel pistachio color caught my eye. As you may know, I have been literally lusting over Lime Crime Pastelchio for like…EVER!  This isn’t the same, but it’ll do until I can squash my lemming for Lime Crime whenever they finally restock [estimated April 1 per the Lime Crime site...April Fool's?  I hope not!!]. 

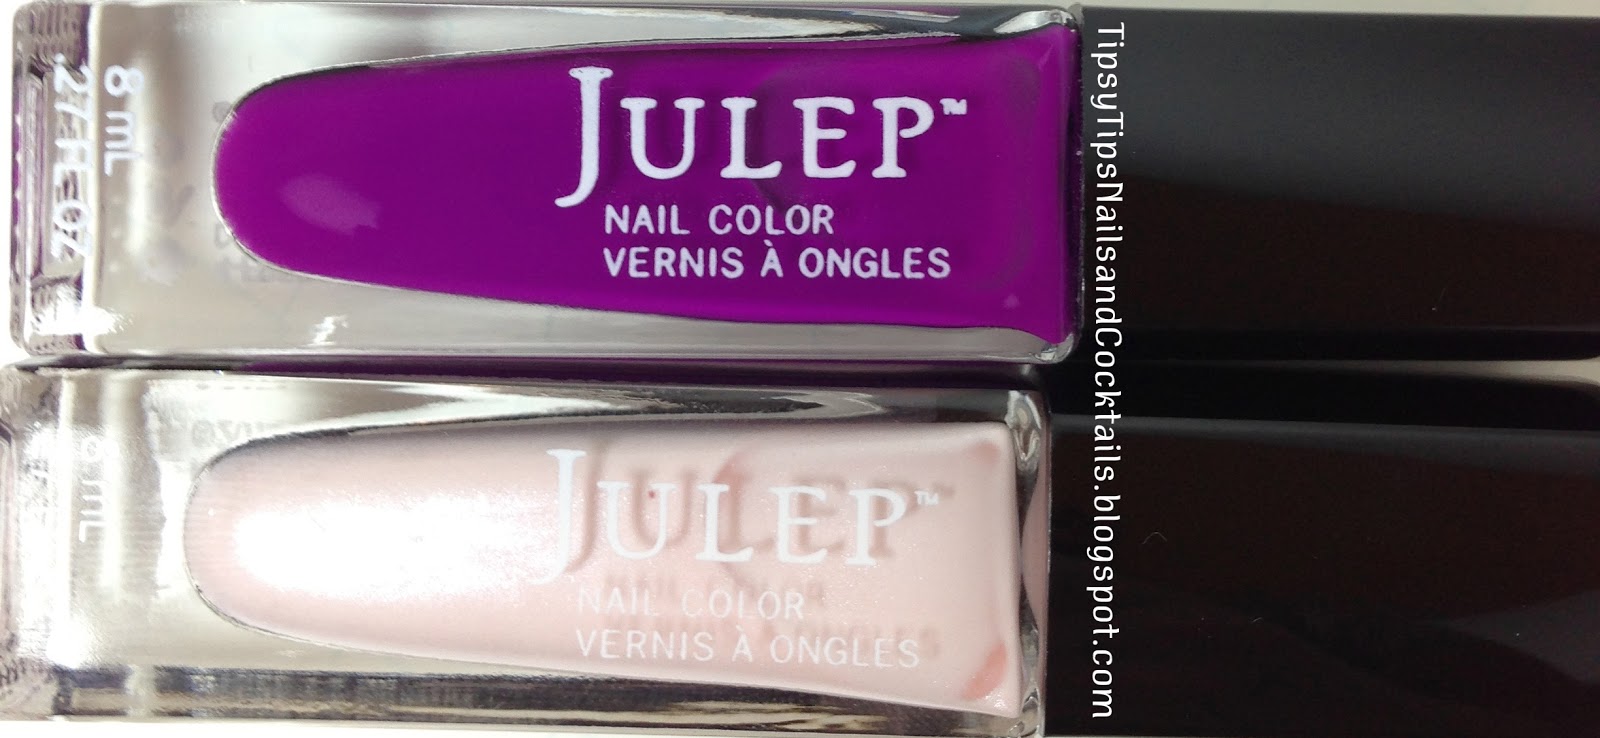
Julep Adrianna is a light pastel pistachio [say that five times fast] green that is absolutely gorgeous for Spring/Easter.  It was a tad streaky with the first coat; perfect with two.  Great creamy formula.  It looks a bit greener in person; my light box kinda makes it look more yellow than it really is.
Two coats Julep Adrianna
Next from the Julep Maven March Bombshell box is Minnie, a darker pastel coral [salmon?  I don’t know the distinction between those two – they look the same to me] with a hint of pink to gold to orange shifting shimmer.  This was also streaky with the first coat.  Less so than Adrianna, but it still needed a second coat for full coverage.  You can't see the shimmer in pictures and it drives me crazy! 
Two coats Julep Minnie
Now for the funky indie polish!  First up is Lavish Polish One Eyed Monster. I layered two coats of this intense glitter bomb over China Glaze In The Lime Light.  This is a great combo for St. Patty’s Day!  In The Lime Light is an almost neon polish with some pearly shimmer.  It dries quickly to a waxy matte finish [I’m LOVING that look lately]. 
Two coats China Glaze In The Lime Light
One Eyed Monster is p-a-c-k-e-d, jam packed, full, overfloweth, stuffed, [you get it] with medium sized emerald green and clear iridescent glitters in a clear base.  You can’t even tell there’s a base when it’s in the bottle; it just looks like a bottle of glitter lol :P  Easy application; tons of glitter on the brush each time.
Two coats Lavish Polish One Eyed Monster
over ChG In The Lime Light
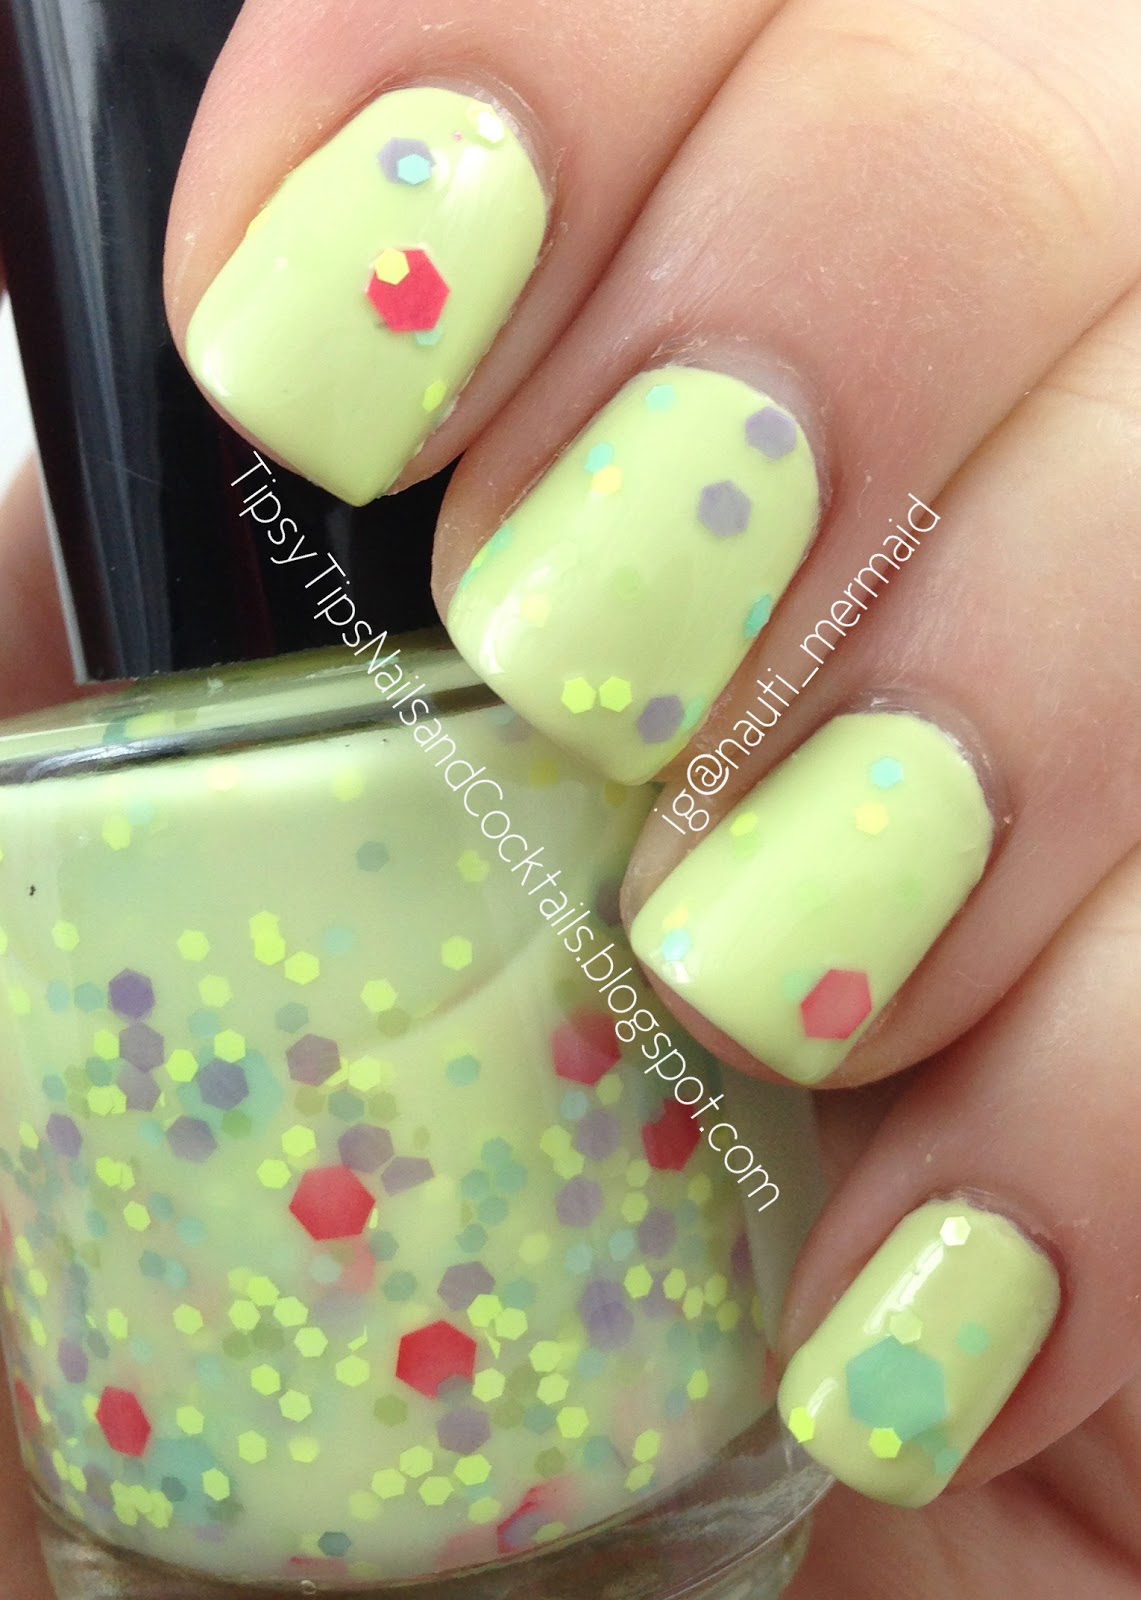
Now.  The awesomest of awesome: Lavish Polish Clown Party.  Okay.  As soon as I saw this on Tiana’s nails [@pandasnails on IG], I went right to Lavish Polish’s Etsy and bought it.  It was THAT cool guys!  Clown Party is funky and pretty and gives you a weird feeling [like clowns] and it sucks you in!  It has a weird greenish white crelly base with all sorts of funky glitters. There’s small matte neon yellowish green, pastel blue, medium pastel purple, large matte pinkish red, and huge pastel blue glitters.  Just what?!  It totally makes you feel weird [in a good way], I don’t know how else to describe it. 
Two coats Lavish Polish Clown Party
over Julep Adrianna
I layered two coats of Lavish Polish Clown Party over two coats of JulepAdrianna.  The base of CP matches Adrianna perfectly.  I have seen it layered over white as well.  The application was a tad difficult.  There was a lot of shaking and rolling and fishing involved, but that is to be expected for the larger glitters. 

Check out Lavish Polish on Etsy where most full sized bottles are $8.00, and keep up on IG, @LavishPolish!
If you’re interested in becoming a Julep Maven, click my referral link [here], take the quiz to determine your Maven Style and enter the code "4993142" at sign up.  You can receive about $40 worth of products each month for only $20!  AND it’s virtually commitment free!  You can skip months, switch your style every month, or cancel any time you want.  At least give it a try!

Okay Lovelies!  See you Friday for some nail art!  Woooo :]
*-*-*-*-*
Follow me on Pinterest [@miss_best] and IG [@nauti_mermaid]!

Friday, January 18, 2013

Hibiscus Martini and Gradient Mani Fail/Redemption

Hello lovelies!  Happy Friday :)  Sorry I completely forgot about my Wasted Wednesday post.  I stayed home sick on Tuesday and got sucked in to watching the whole first season of American Horror Story. Anyways, I have a GREAT drink recipe (similar to last weeks) and some nail fail/redemption pics.

To make a Hibiscus Pom Martini,
You’ll Need:
Absolut Hibiskus
Stirrings Pomegranate Mixer
Stirrings Pomegranate Sugar
Ice

Make It!
Rim a glass with the sugar.  Combine one shot vodka with two shots mixer.  Shake in a glass with ice. Strain into sugar rimmed glass.

This tastes JUST like a Passion Tea Lemonade from Starbucks.  LOVE it!  And the vodka bottle is pretty; so that’s a plus.

Gradient Nail FAIL and Redemption
I started out with this great idea in my head.  I was going to attempt a gradient that looked like a sunset.  I started with China Glaze Peachy Keen as the base.  Gorgeous right?!  Well, that was the prettiest it’s gonna get.  lol
Two coats China Glaze Peachy Keen
China Glaze Peachy Keen, Escaping Reality
and Japanese Koi (neon)
I tried to do the gradient with ChG Escaping Reality (pink) and Japanese Koi (neon) (orange).  Ehhhh it didn’t look as good as I envisioned it.  I would have suffered through it, but I was out from work one day so I decided to attempt again.
Julep Eileen and
China Glaze Yellow Polka Dot Bikini
Julep Eileen and
China Glaze Yellow Polka Dot Bikini
This one was MUCH better.  I only used one color (ChG Yellow Polka Dot Bikini) over Julep Eileen.  It’s really hard for me to explain if you don’t know the method for gradients.  I am hoping to do a tutorial one of these days.  Not like I’m an expert, obviously, but the way I did it worked for me.  In a nutshell, follow these steps:
Paint your nails a base color (Julep Eileen) and let it dry completely.
On a makeup sponge, apply the base color and the gradient color.
Dab the sponge on the nail.  Be sure to dab the sponge in different areas of the nail, in order to blend the colors (so you don’t get such a harsh color line like my first attempt).
Turn the sponge over and paint some of the gradient color (ChG Yellow Polka Dot Bikini) onto it. 
Dab this on the very tip of the nail to give full color coverage.
Flip the sponge back over to blend once more.
Let dry briefly.  Seal with a topcoat to smooth sponge marks.

Like I said, it’s a little hard to explain without step-by-step. I will try to do one ASAP. 
I’ve only attempted gradients probably about three times.  This is the best I’ve done and I’m very proud of these babies :D

*-*-*-*-*
Follow me on IG @Nauti_Mermaid
Follow me on Pinterest

Tuesday, January 8, 2013

Swatch Tuesday! Julep * Ava & Bette - January Bombshell Box

Hello lovelies!  Today I have the Julep Maven January Box.  The theme this month was Nude & Neon.  My normal box style is American Beauty, but I didn't really like the orange neon they offered, so I switched to the Bombshell style because I really liked the purple.

Julep Bette and Ava
The nude selection was a pretty polish called Ava.  It's a very light frosty pink.  Went on perfect in two coats, no application issues.  Dry time was normal.
Two coats Julep Ava
Two coats Julep Ava
Two coats Julep Ava
The neon in January's box is a sheer purple jelly polish called Bette.  Julep describes this a "creme", but I am going to disagree.  It is definitely not a creme in my definition of the word.  It went on nicely.  As you see, I used it with various undies/no undies combos.
Two coats Julep Bette various undies
Like I've found with most neons, dry time was fast and it dried semi-matte.  The pictures shown have no topcoat.  There is some sheen, but not as much as a normal polish, but it's not as matte as a matte polish.
Two coats Julep Bette various undies
I thought the neon would be much more in-yo-face!-where's-my-sunglasses?-blam!! neon, but it really wasn't.  The color shown is pretty much how it looks in person.

If you would like to be a Julep Maven and receive polish boxes monthly for about $20, click here for my referral link, take the style quiz, and enter code "4993142" at sign up.  It's a real deal to be a Maven, you get two polishes - sometimes three depending on your box style - plus an extra beauty goodie!  All for $20!  AND if you want to order polish at other times, you get a discount on regular prices.  Just sayin'!

If for some reason you don't want to be a Maven, you can check out Julep's website and pick out some great polish for $14 each.

*-*-*-*-*
Like Tipsy Tips * Nails & Cocktails on Facebook
Follow me on IG @Nauti_Mermaid 

Saturday, January 5, 2013

How-To: Nail Prep and Polish Clean Up


Recently I have been told my polish cleanup looks awesome (thank you very much, I sincerely appreciate it!) and asked how I do it.  I do remember a time when I would look at girls’ nail pictures and think to myself, wow, how in the hell does she not get the polish everywhere?!  Well…..in reality, you still get polish on your skin, but never fear!  There are simple ways to get it off and make your nails look perfect and clean!  And I’m gonna tell you my secrets, step by step!  Spread the knowledge, spread the love!  :)
Two coats Sinful Colors Easy Going

Supplies: 
Some sort of Cuticle Moisturizer/Oil/Balm/Remover (or even plain lotion)
Cuticle Pusher*
Nail Scrubber Brush (optional, but recommended)
Polish Remover
Polish Remover Lid (or some other small bowl type thing to put a little bit of remover in)
Orange Stick*
Nail Art Brush/Paint Brush – the smaller the better
Washcloth/Paper Towel (or whatever you want to wipe the polish off on)
*Yes, I know orange sticks ARE cuticle pushers, but I use plastic cuticle pushers instead of the wooden orange sticks.  That’s just my personal preference.
Clean up supplies
Close up of the nail art brushes I use
Purchased from Amazon click here to see on their website.

Prep:
The prep is almost as important as the cleanup! Take your cuticle cream/oil/lotion, whatever you prefer to moisturize your tips with and apply per directions.  I use the Sally Hansen one I picked up at Target or Wal-Mart a while ago. 
Cuticle prep
With your cuticle pusher, push back your cuticles.  This will automatically make your nails look “cleaner” – even before you start cleanup. 
Push back cuticles
After you push them all back, wash your hands with soap and warm water to get off all the excess lotion; use the nail scrubber!  It helps get the lotion out of the sides of your nails and out from under them. 
Scrub a dub dub
I recommend washing your hands thoroughly, then going over each nail again with some polish remover on a cotton ball.  If you leave any lotion or oil on your nails, it will make the polish peel off in sheets or chip much faster (at least that’s my theory).

Paint and Cleanup:
Paint one nail.  Begin cleanup immediately.  It is easiest to remove the polish from your fingers and cuticles while the polish is still wet.  This is probably the most important tip I will give in this post.  Also, clean up after each coat of polish you apply.  Yes, even base and top coats!  Who wants pretty polish on their nails, but then clear coat all over their fingers?  Nobody! ;)  Try to be as neat as possible.  Let’s not paint our whole entire finger here.
Paint ONE NAIL AT A TIME
Dip the wide end of the orange stick in polish remover.  Lightly dab off excess remover on your towel.  Remove excess polish from the sides of your nail.
Begin cleanup with orange stick
After orange stick clean up
Ready for the hardest part of all?  Cuticle clean up at the top.  I have seen tips and directions that say to wait until the polish is dry.  No.  Then how the heck are you supposed to get it off?!  Do this while your polish is still wet!

Dip the brush in your remover.  Again, dab off excess, you don’t want a big drop of remover landing on your wet polish.  Very carefully trace the contour of your cuticle.  You may need to do it sections at a time.  It took me a while to perfect it in one swoop, and sometimes I still can’t do it like that.  If you take too much off, don’t freak out, you still have another coat of polish to apply. 
Slowly and carefully trace your cuticle


Viola!
After you paint and tidy all five fingers, obviously go to the next hand while you wait for the first coat to dry.  Do a second coat and clean up as before.  Let dry and apply a topcoat.  Clean as necessary.

I really hope this helps!  Please be patient!  It took me a lot of practice to get the technique down, and sometimes I still suck!  Just take your time, relax, and have fun.  It’s ONLY nail polish :)  And ladies, why do you think this is Tipsy Tips * Nails AND COCKTAILS?!  Have a drink while you do it, I always do! ;)
This is Malibu Sunshine Rum and cranberry!
Very refreshing and tasty! :)
How do you do cleanup?  Was this helpful?  Should I do more how-to’s?  Want to know anything else?  TELL ME! :D